We use cookies to make your experience better. To comply with the new e-Privacy directive, we need to ask for your consent to set the cookies. Learn more.


Tips For Installing Self Adhesive Vinyl Flooring
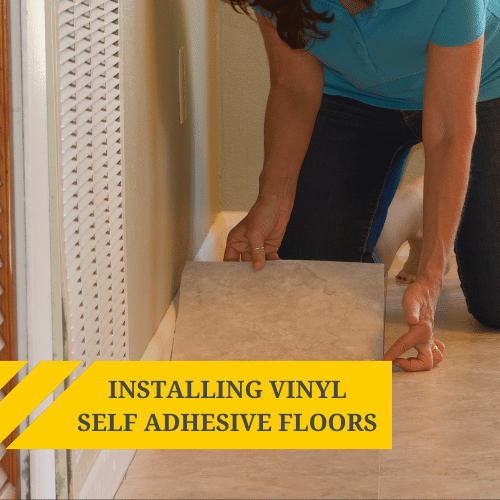
The whole idea behind self-adhesive vinyl flooring is to take advantage of a versatile, highly durable material, which also happens to be easy to install. The only way you can go wrong with this affordable and attractive flooring option is by botching the installation job. Even though these self-adhesive tiles are constructed specifically to make the job easy, there are some very important steps that you will want to do right, or run the risk of having to do all over again.
- Make sure the surface you are putting your flooring down on is smooth. It might take a little extra time to fill any holes and sand off grit or bumps, but in the long run it's essential for a long-lasting installation.
- Carefully "square" your floor and create a plan for laying out the tiles in advance. The first row of square tiles must be perfect or the error will be evident throughout the design.
- Use a vinyl tile cutter instead of a razor knife when cutting any tile. It will save you time and effort while ensuring a more professional looking job.
- When you go to buy, rent or borrow your vinyl tile cutter, look into getting a heavy floor roller for rolling the tile. Read the instructions for installing your self adhesive vinyl flooring in advance so that you are aware of how much time you have to roll the tiles after placing them.
- Remember to speak to us! We're happy to help our customers with installation tips and advice.
Related Posts
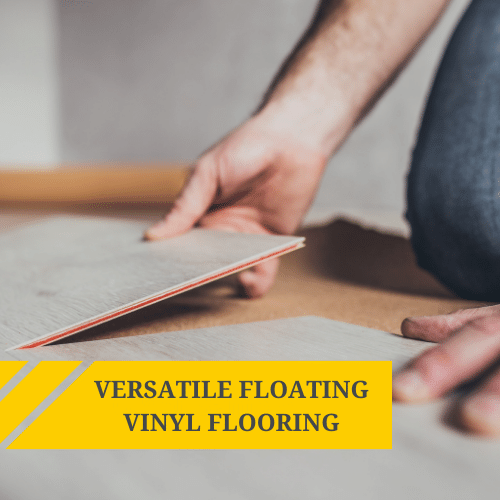
In many situations floating vinyl flooring such as our self adhesive Traffic Master Allure range can be an absolute revelation. But when is this product called for, and what makes it so effective? Just like regular vinyl tiles, floating tiles are...
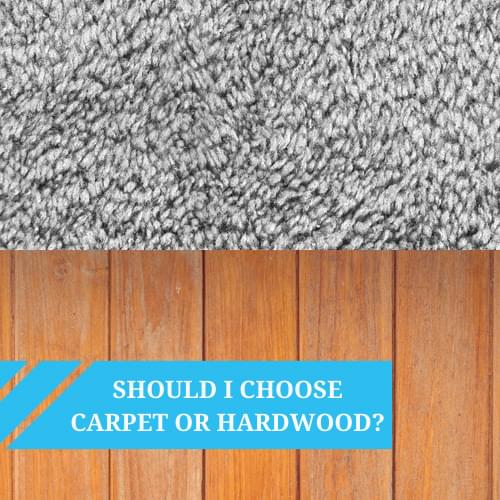
Trish has a small child and wants to know if it would be best to choose a hardwood floor or carpet to replace her laminate. Read on to see our response...
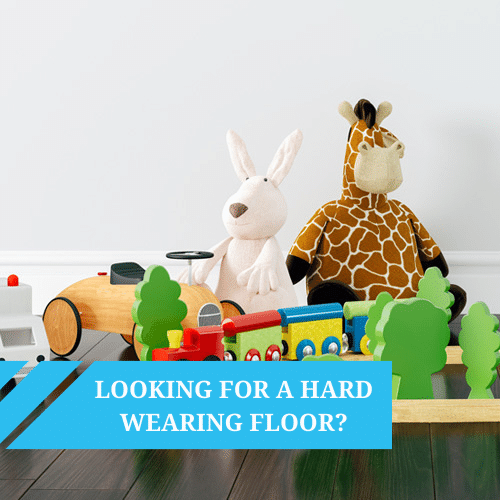
Our customer asked us what wood effect or vinyl floor would be best for four active children; we gave her four different options to choose from...

Our Flexo self adhesive flooring planks are already under special offer but now you can get a further quantity discount if you order 30 packs or more. E.g. Self Adhesive Flexo Viny Flooring in Chardonnay (Product code: 745):
Regular Price:Â&...