


How to Lay Flooring on a Concrete Subfloor
Transforming your home's concrete subfloor into a stunning foundation for your flooring dreams requires precision and preparation. Dive into our comprehensive guide, covering everything from moisture concerns to material selection, as we walk you through each step of the process.
Home renovation often begins with choosing the perfect flooring. However, when faced with a concrete subfloor, it’s not always clear where to start. From moisture concerns to choosing the right materials, laying flooring on a concrete subfloor requires careful planning.
Despite its challenges, concrete can accommodate various flooring types, such as laminate, vinyl and even carpet. With the right preparation and tools, you can lay beautiful flooring on a concrete subfloor that will last for years to come.
In this comprehensive guide, we'll walk you through the step-by-step process, from preparing the concrete base to finishing touches, helping you confidently transform your home. Let's go!

How to Prepare a Concrete Subfloor
Proper preparation of the concrete subfloor is essential for ensuring the longevity and durability of your new flooring. Without adequate preparation, you may find problems with:
- Moisture
Cracks - Cracks
- Unevenness
- Adhesion issues
These can cause issues down the line, such as warping, mould growth, and even flooring failure. Taking the time to assess and treat the concrete subfloor thoroughly can help in creating a stable and level foundation that supports your chosen flooring material effectively, for a result that is not only beautiful but also long-lasting.
Here's what you need to do:
Cleaning Your Concrete Subfloor
Thoroughly clean the concrete surface to ensure proper adhesion of the flooring material. Remove any debris, dust, or grease from the subfloor. A solid, clean foundation is the key to a successful installation.
Levelling and Repairing
Check for cracks, uneven spots, and any other imperfections in the concrete. It's vital to level the subfloor, as unevenness can lead to poor installation and problems down the line. Use a self-levelling compound to create a perfectly flat and smooth surface. For larger cracks or imperfections, consider patching them with concrete patching compounds.
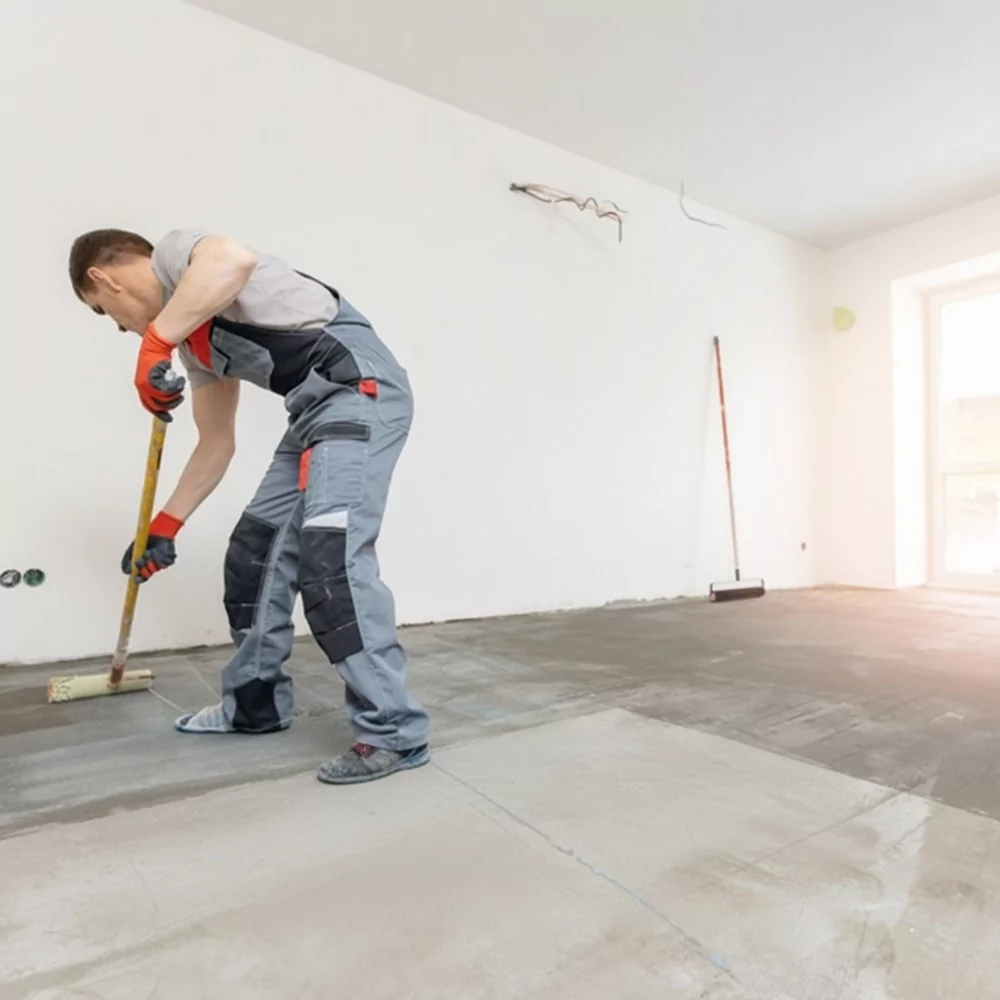
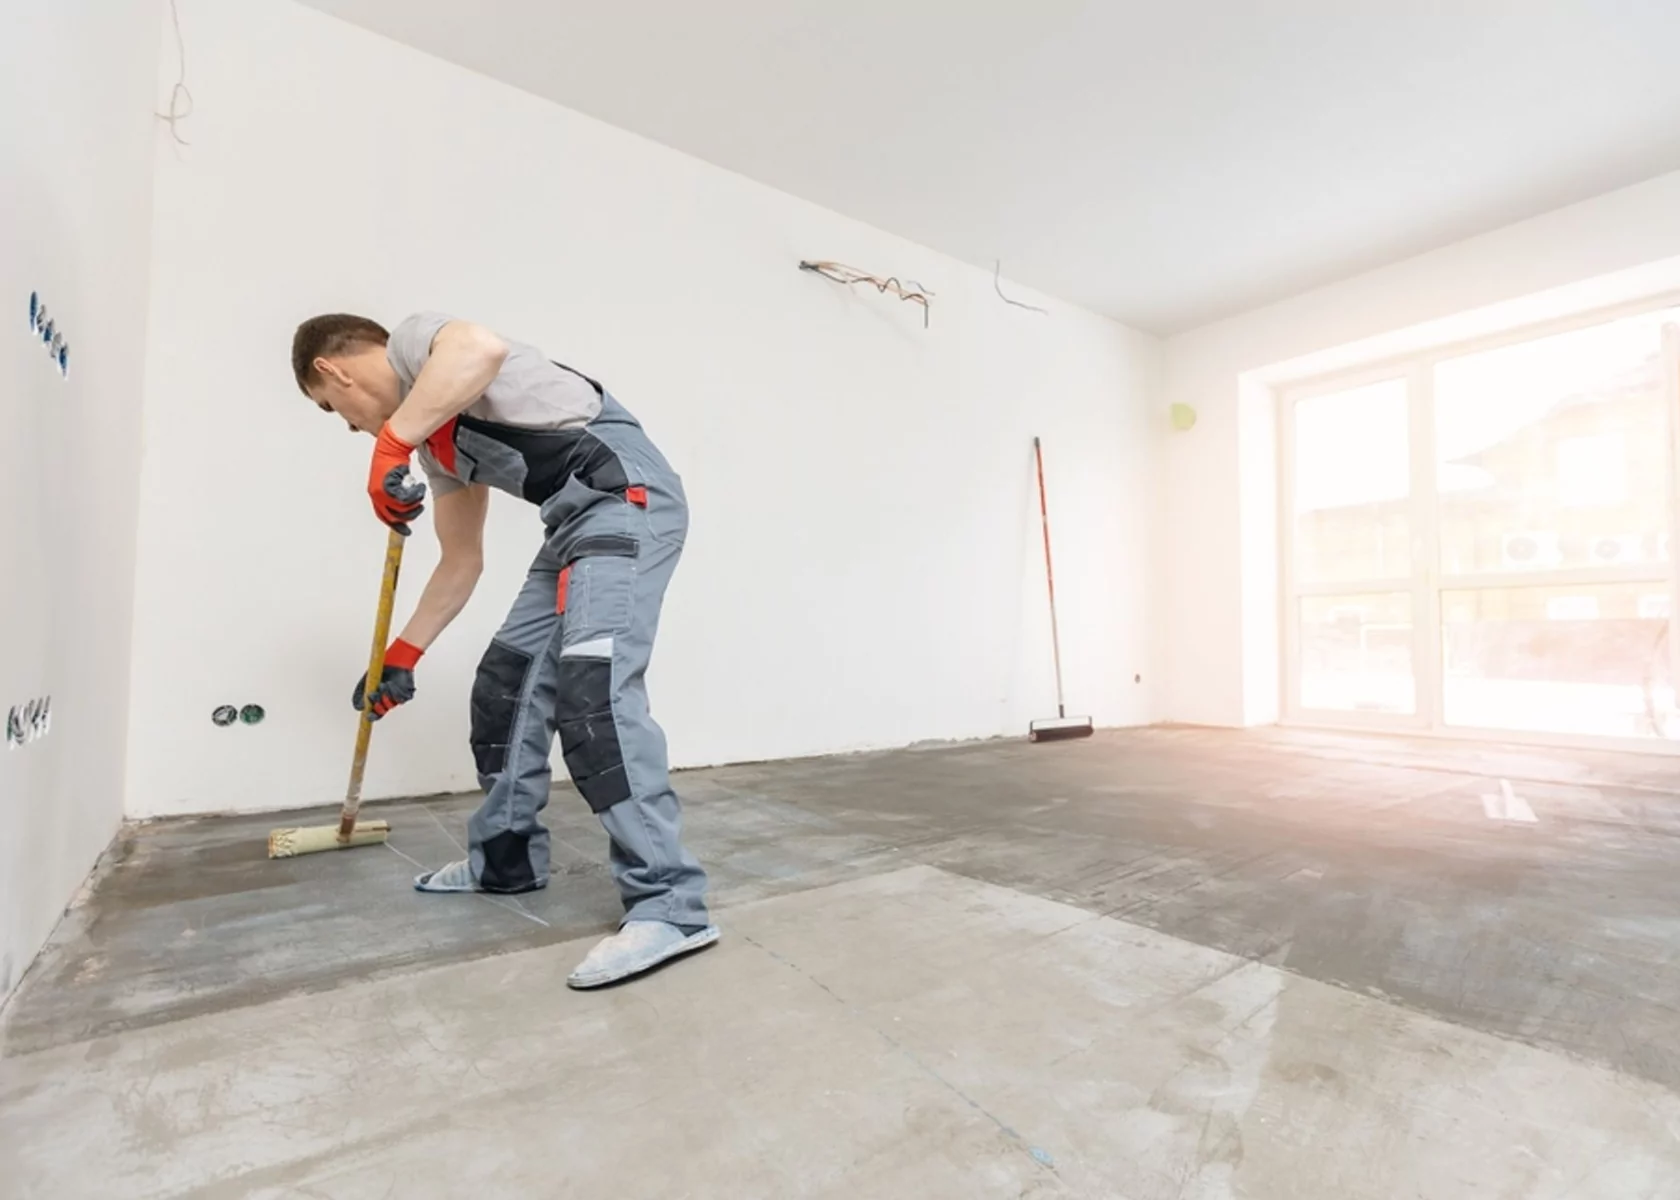
Sealing the Subfloor
Once your concrete subfloor is clean, level, and free of any visible imperfections, seal the surface to prevent moisture from seeping through. A quality concrete sealant will act as a moisture barrier and provide a stable foundation for your new floor.
Laying Sheet Vinyl on Concrete Subfloor
Sheet vinyl flooring is a popular choice for concrete subfloors due to its affordability, durability, and ease of installation.
Here's a step-by-step guide on how to install vinyl sheet flooring on concrete.
- Preparing Your Concrete Subfloor: Before beginning the installation of your sheet vinyl flooring, ensure the subfloor is clean, level, and dry, and apply a suitable moisture barrier or sealant to guard against any potential moisture damage.
- Measure the Room: Accurately measure the dimensions of your room to determine the amount of sheet vinyl required. Remember to account for any alcoves or irregular areas.
Acclimate the Vinyl: Allow the sheet vinyl to acclimatise in the room for at least 24-72 hours before installation. This will allow it to adjust to the temperature and humidity of your space, ensuring easier installation and preventing any buckling or warping later on. - Cutting the Vinyl: Lay the sheet vinyl out on a clean, flat surface that's large enough to accommodate the full length. Mark the cutting lines on the vinyl's backing using your room measurements. When cutting, leave an extra 50-100mm around the edges to ensure you have enough vinyl to trim to a perfect fit once laid.
- Spread the Adhesive: Starting at one end of the room, spread the adhesive on the concrete subfloor as directed by the adhesive manufacturer. Work in small sections to prevent the adhesive from drying before the vinyl is positioned.
- Lay the Vinyl: Carefully lay the sheet vinyl onto the adhesive, making sure it is correctly positioned. Press the vinyl down firmly, starting from the centre of the room and working your way out towards the edges to remove any air bubbles.
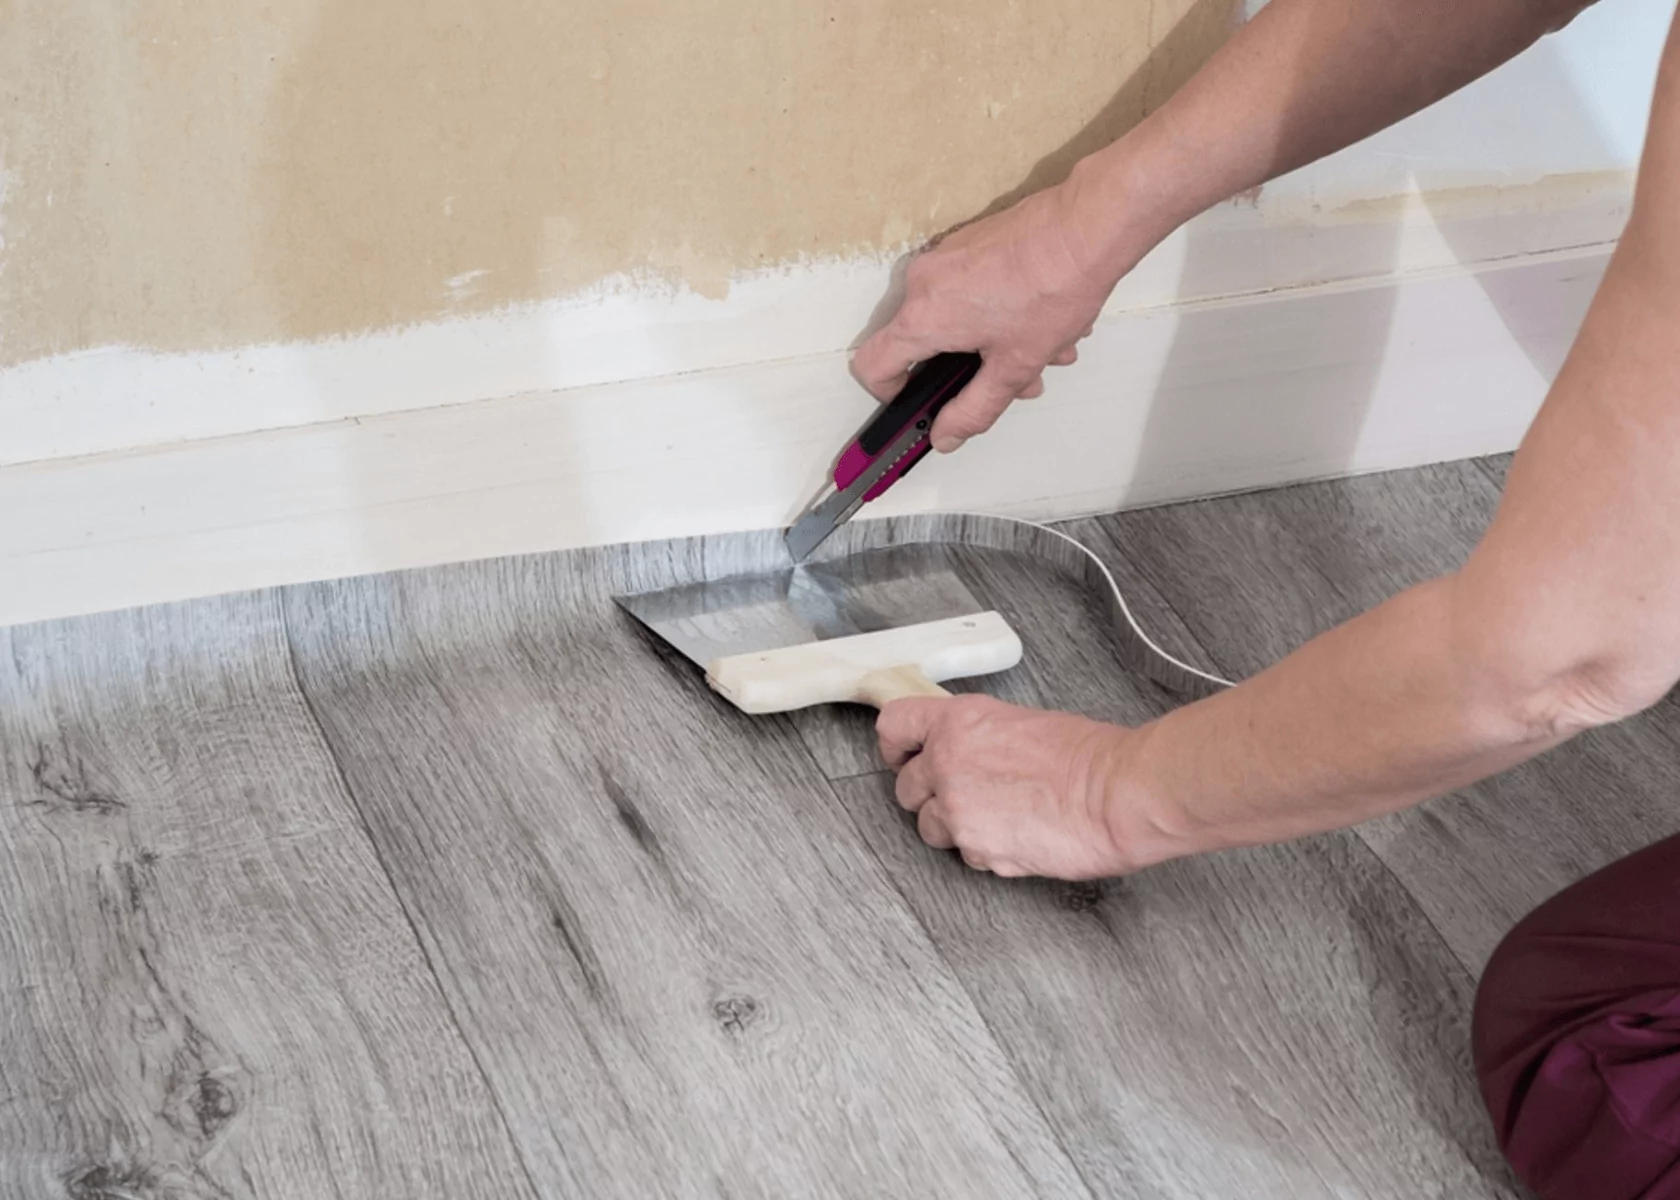
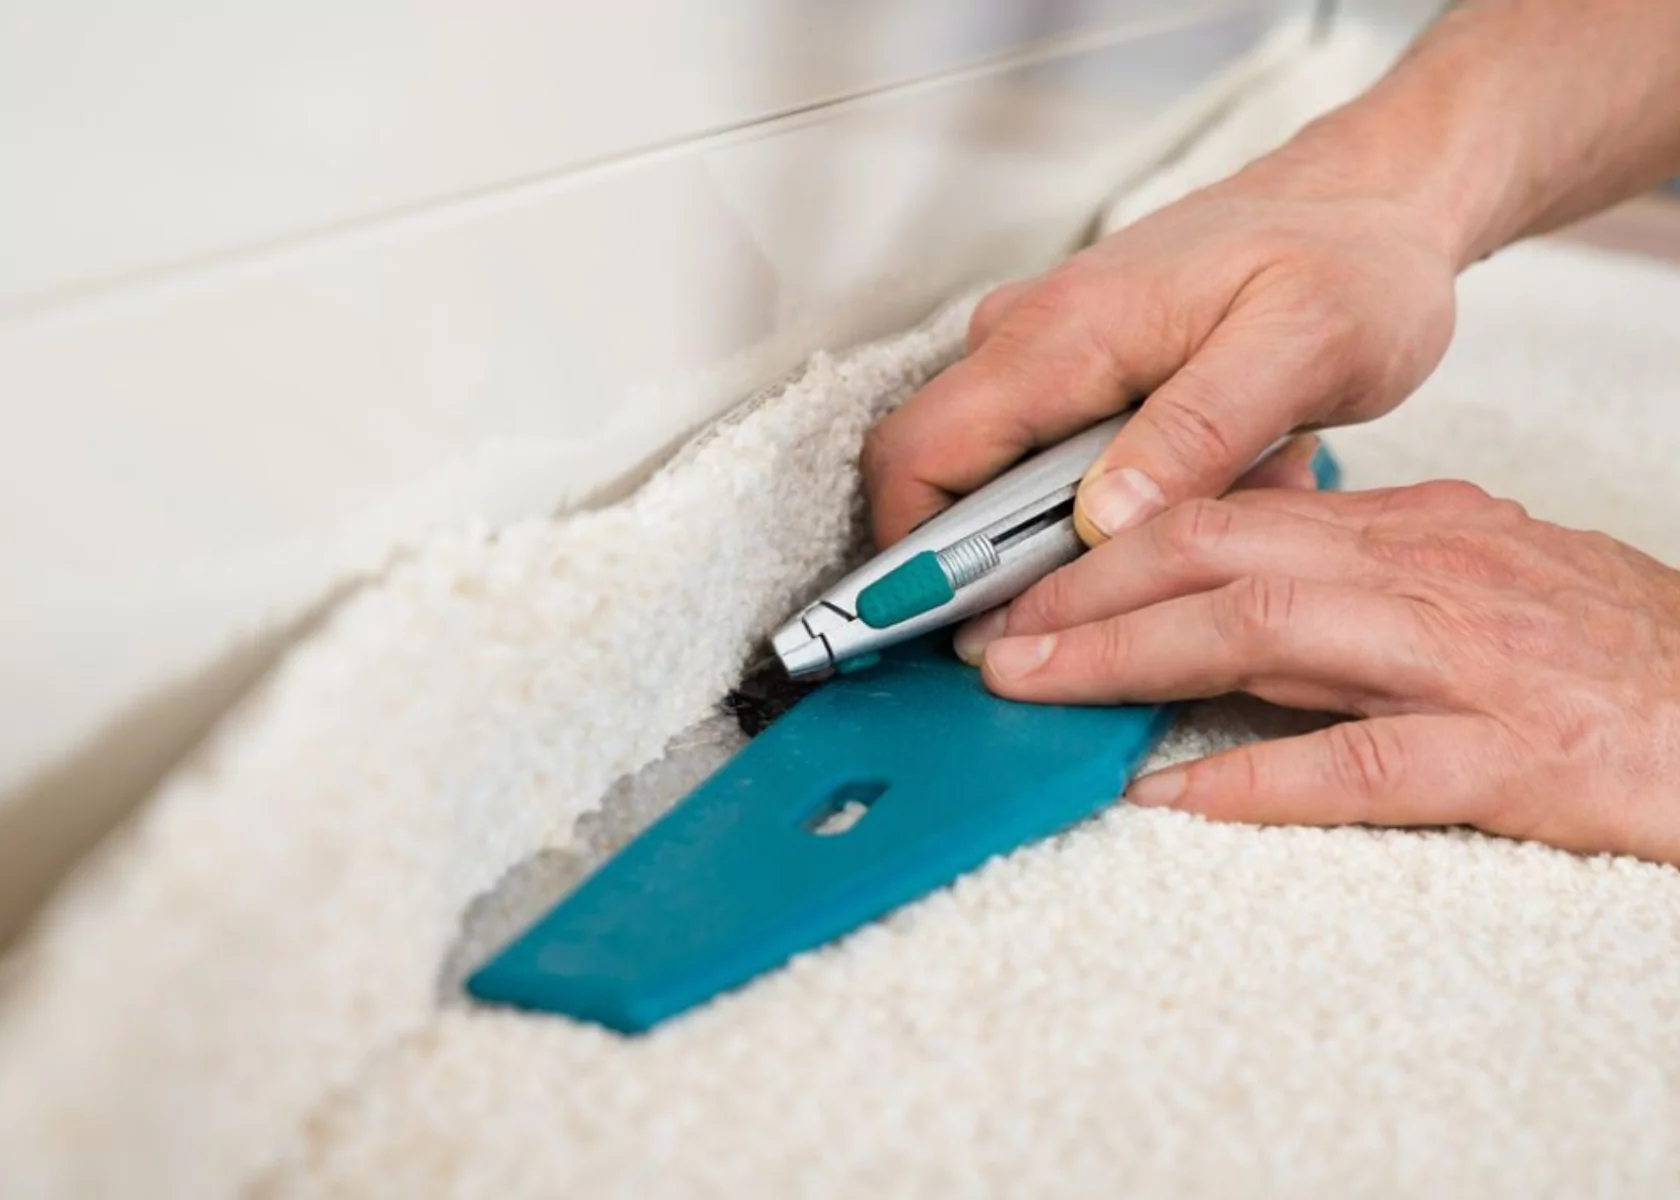
- Trimming Excess Vinyl: Using a sharp utility knife, trim the excess vinyl along the edges of the room, ensuring a neat fit against the wall or skirting boards.
- Roll the Floor: Once the vinyl is laid and trimmed, use a floor roller to press the vinyl into the adhesive and ensure a good bond to the subfloor, eliminating any remaining air bubbles.
- Leave to Cure: Try to avoid walking or placing furniture on your new flooring straight away, allowing time for the adhesive and flooring to cure.
Extra Tips
- Ensure the room temperature is within the manufacturer's recommended range both during and after the installation to allow for proper adhesion and curing of the adhesive
- Take your time during the fitting process for a smooth, professional-looking finish.
Potential Challenges
Moisture: Concrete subfloors can harbour moisture. This moisture can compromise the adhesive and the vinyl itself without adequate sealing, leading to mould or peeling. To prevent this, make sure to seal your concrete subfloor or use a suitable underlay before installing vinyl flooring.
Surface Preparation: Concrete can be uneven or have cracks that need to be filled in before laying vinyl. Failure to do so may result in an uneven or bumpy surface.
Difficult Layouts: Rooms with unique shapes or angles can pose a challenge when cutting and fitting the vinyl, especially around corners and obstacles. You can create a template using paper or cardboard to help navigate obstacles.
Browse our complete range of sheet vinyl for various styles and designs to fit your space and budget.
Installing Carpet on Concrete
Carpet flooring is comfortable and warm and can add a cosy feel to any room.
Here's how to install carpet on concrete:
- Prepare the Concrete Surface: Before laying the carpet, it is critical to inspect the concrete for any cracks, holes, or surface imperfections. These should be addressed by filling them with a suitable filler product. For an even surface, use a spirit level to check the flatness and apply a levelling compound where necessary.
- Choose the Right Carpet: For concrete floors, opting for a synthetic fibre carpet is advisable due to its lower moisture absorption compared to natural fibres.
- Select the Proper Underlay: An appropriate underlay is essential for carpets laid on concrete, as it can prevent bacteria and mould growth. A rubber underlay is recommended for its resistance to moisture. Foam underlays, which can retain moisture, should be avoided.
- Install Tack Strips: Position tack strips around the perimeter of the room, leaving a small gap between the strips and the wall to tuck in the carpet's edge.
- Stretching and Securing the Carpet: Achieving a professional finish relies heavily on how well the carpet is stretched and secured over the concrete surface. Start by loosely laying the carpet over the area, ensuring it overlaps the walls. Use a knee kicker to stretch the carpet towards the walls, beginning from one corner and gradually moving to the other sides. Secure the edges into the tack strips, trim any excess material, and ensure a neat edge against the wall trim or baseboard. See our guide for more detailed instructions on how to install carpet
Browse our newly launched range of carpets and find the perfect fit for your space.
Installing Laminate Flooring Over Concrete
Laminate flooring is a popular choice due to its durability and ease of maintenance.

Here's how to install laminate flooring over concrete:
- Prepare the Concrete Subfloor: Ensure the concrete is clean, dry, and level. Use a concrete filler to repair any cracks or holes, and allow it to cure completely.
- Moisture Barrier: Lay down a moisture barrier before installation. Concrete can release moisture, which could warp or damage laminate flooring.
- Selecting the Right Underlayment: A laminate underlay for concrete floors is essential not only for moisture protection but also for providing a smoother surface and reducing noise. Look for underlay specifically designed for use over concrete that incorporates a moisture barrier.
- Acclimate the Laminate Planks: Before installation, laminate planks should be acclimatised to the temperature and humidity of the room where they will be installed. This typically means leaving them in the room for at least 48 hours prior to installation. This step helps prevent future warping or gapping.
- Cutting and Fitting Planks: Measure the length of the first row, then cut planks to fit using a saw. Leave an expansion gap of at least 5mm between the planks and walls to allow for natural movement. Use spacers to maintain this gap while installing.
- Installation Process: Start in one corner of the room and work in rows, following the manufacturer's instructions for connecting planks. Make sure to stagger the joints between rows for a natural look. Once all planks are installed, remove spacers and cover expansion gaps with baseboards or trim pieces.
Browse our complete range of laminate flooring options and find the perfect fit for your home. We offer a variety of styles, colours, and finishes to suit any design aesthetic.
Laying Luxury Vinyl Plank (LVT) on Concrete
Laying Luxury Vinyl Plank (LVT) flooring on concrete surfaces requires careful preparation and precision, but the end result can dramatically transform any space.
Here's a guide on how to install LVT flooring on concrete:
Prepare the Concrete Subfloor: Begin by ensuring the concrete floor is perfectly clean, dry, and level. Any moisture issues should be addressed beforehand to prevent damage to the LVT planks.
Lay Down a Moisture Barrier: Just like with laminate flooring, creating a moisture barrier between the concrete and LVT is needed. This can be done using a waterproof underlayment or by sealing the concrete surface.
Select the Right Adhesive: LVT should be glued onto the subfloor. Make sure to use an adhesive designed for use on concrete and carefully follow the manufacturer's instructions.
Acclimate the LVT Planks: Similar to laminate, LVT planks need to be acclimated to the room's environment where they will be laid. This process involves leaving the planks in the room for at least 48 hours. This step helps to avoid any potential expansion or contraction post-installation that could disrupt the uniformity of your flooring.
Laying Out the Planks for Installation: When you're ready to lay the planks, start by planning your layout. Consider the room's dimensions and the direction of the planks. Positioning them parallel to the longest wall often results in a more aesthetically pleasing finish. Dry lay a row to make sure the planks fit well at the end, and adjust your starting point if necessary.
Cutting and Fitting Planks: When cutting LVT to fit around corners or edges, use a sharp utility knife and a straight edge to ensure clean, straight cuts. Remember to leave a slight gap (approximately 5mm) around the room's perimeter to allow for expansion. This gap will be hidden by skirting boards or trim.
Installation Process: Once you have a plan and all the planks cut to fit, it's time to start glueing them down. Apply the adhesive according to the manufacturer's instructions and carefully lay each plank into place, pressing firmly to ensure proper adhesion
Allow Time to Cure: Give your new flooring adequate time for the adhesive to fully cure before walking or placing furniture on top.
Browse our full range of LVT flooring to find the perfect option for your space.
Enjoy Your New Floor!
After completing these steps, stand back and admire your newly installed flooring! It's time to move the furniture back in and enjoy your refreshed space.
Laying flooring on a concrete subfloor may seem daunting at first, but with the right guidance and preparation, it can bring new life to your home. Each type of flooring may have specific steps and considerations, but the overarching process remains the same: prepare, install, and finish with care.
Whether you choose the warmth of carpet, the modern look of LVT, the cost-effectiveness of laminate, or the durability of sheet vinyl, your concrete subfloor will act as a solid foundation for your style and creativity. Remember, taking your time and following the proper installation techniques is key to achieving a beautiful and long-lasting finish.
Looking to give your home a makeover? Explore Best4Flooring's extensive range of luxury vinyl tile (LVT), laminate, sheet vinyl and our newly launched carpets to transform your space. With options to suit every taste and style, you're bound to find the perfect flooring solution for your home.