


How to Fit a Carpet in Your Own Home: A Practical Step-by-Step Guide
Think carpet fitting is only for the pros? Think again. This easy-to-follow guide walks you through every step—from prepping the subfloor to neat edge finishes—so you can confidently lay carpet yourself.
Fitting carpet might sound like a job for the pros, but with the right tools (and a bit of patience), it’s absolutely doable as a DIY project. You don’t need to be a tradesperson. You just need clear steps, a steady hand, and a willingness to take your time.
This guide explains how to lay carpet from start to finish. You’ll learn how to prepare the subfloor, measure properly, and cut the carpet to size. You’ll also see when to use a carpet stretcher and how to tuck the edges cleanly along the skirting board.
If you’ve never done this before, that’s fine! Take it one step at a time. This approach works for bedrooms, hallways, and most living spaces. You can also use it alongside our step-by-step guide to fitting carpet on stairs if you’re updating more than one area.
Ready to take on this DIY project? Let's go!

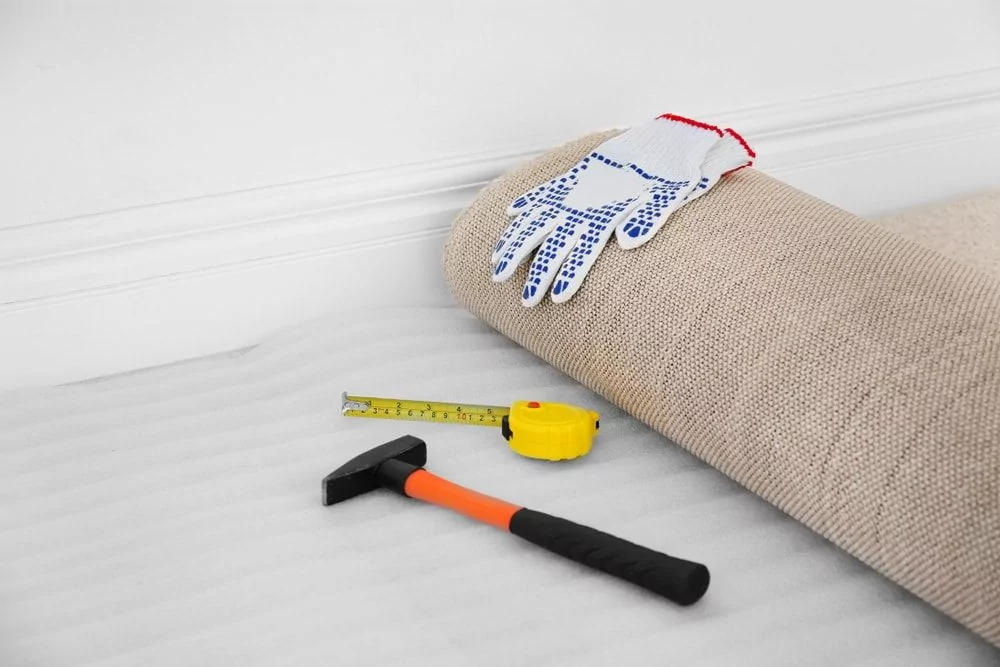
Carpet Fitting Checklist: What You Need Before You Start
Before you get stuck in, make sure you have everything to hand. Fitting a carpet is much easier when you’re not stopping to hunt for tools or missing a key part of the process.
Your carpet fitting checklist:
- Tape measure – to measure the room and cut the carpet to fit
- Carpet grippers (tack strips) – to keep the carpet fixed along the edges
- Carpet underlay – improves comfort and extends the life of your carpet (browse underlay options)
- Carpet stretcher and knee kicker – help you get a tight, secure fit
- Staple gun – for fixing the underlay in place
- Utility or carpet knife – for trimming carpet, especially around corners and edges
- Carpet bolster – to tuck the carpet neatly against the skirting board
- Carpet edge strip – to finish where the carpet meets laminate or tile
- Duct tape – to seal underlay joins
- Gloves and safety glasses – for protection while cutting and fixing
- Knee pads - optional, but your knees will thank you!
Check everything off before you start. A bit of prep now will save time and effort later.
Next up: how to get your subfloor ready.
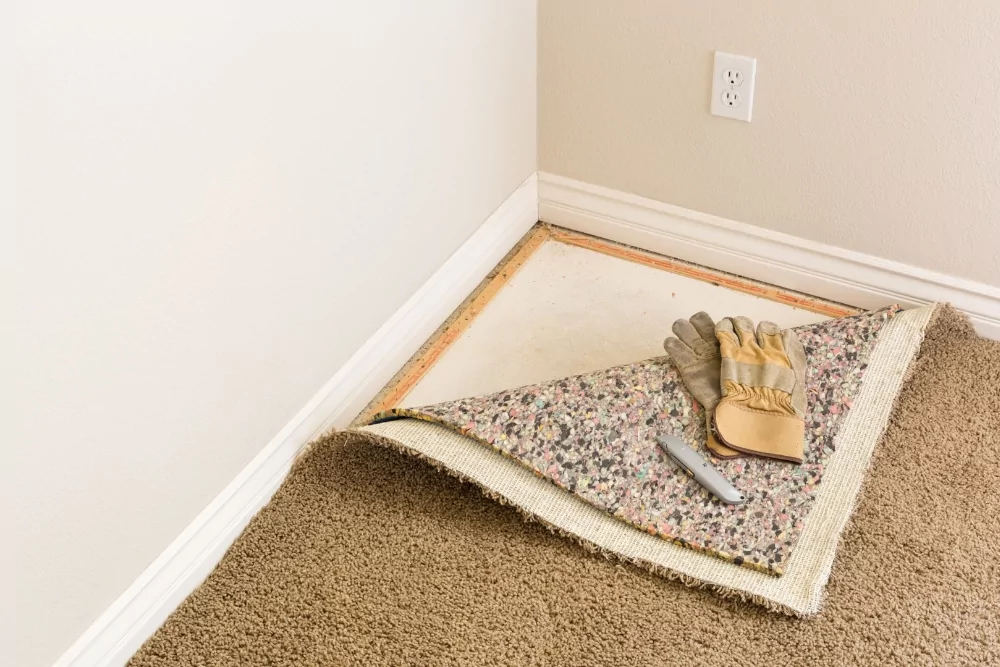
Preparing the Subfloor
If you want your carpet to sit right, the floor underneath has to be sorted first. It doesn’t matter how good the carpet is. If the base is uneven or damp, you’ll notice every flaw. So take a bit of extra time here. It’s worth it.
Step 1: Strip out the old stuff
Pull up any old flooring, carpet and underlay. Cut it into strips if needed so it’s easier to carry out. Get rid of all the staples, tacks, or nails left behind. Gloves help here as some of those edges can be sharp.
Step 2: Clean it properly
Once everything’s up, give the floor a good vacuum. If there’s any sticky residue or dirt, wipe it down with a mild detergent and warm water. Then let it dry fully before doing anything else. A damp floor can lead to mould under the carpet (and no one wants that).
Step 3: Fix anything loose or uneven
If you're dealing with wooden floors, check for wobbly boards, raised nails, or dips in the surface. If it creaks when you walk on it, screw it down. Fill any cracks or gaps with a floor repair filler. You want a smooth, solid surface to build on.
Working over concrete? Check for damp. You might need a damp proof membrane to stop problems later.
Once your floor is clean, dry and level, you’re ready to move on.
How to Cut Carpet to Size
Getting the cut right is one of the most important steps in fitting a carpet. A rough guess or rushed cut will leave you short, especially around corners and skirting. This is where patience matters.
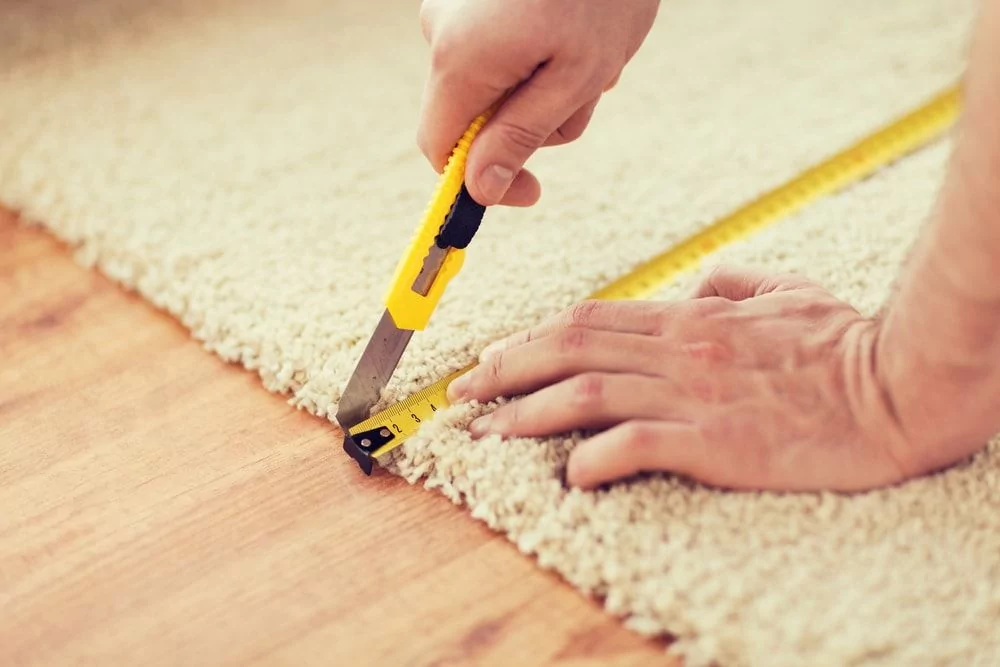
Measure carefully before you cut
Before you cut anything, measure the longest wall and width of the room at its widest point. That means including any alcoves, doorways, or bay windows. Rooms aren’t always perfectly square, so take multiple measurements and use the largest number for each side.
Add around 10 centimetres to both the length and the width. This extra space gives you room to tuck the carpet neatly against the skirting board, and it helps cover any small misjudgments or movement during fitting.
If the room has fixed features like a fireplace or built-in cupboard, make a floor sketch and note their positions and sizes. This helps when you're cutting or positioning the carpet.
In a large room where you’ll need more than one piece, plan your carpet joins ahead of time. Keep the pile direction running the same way and place joins in low-traffic or less visible areas. You’ll need a proper carpet join strip to secure them cleanly.
Getting this stage right will save you a lot of stress (and wasted carpet) later.
How to cut carpet
Lay the carpet flat and let it settle into the space. Use a utility knife with a fresh blade and a straight edge to trim along the skirting board. Don’t rush. Keep your cuts smooth and steady.
For tight spots, like around a door frame or radiator pipes, cut small slits into the carpet first. This helps it bend and fold without bunching. Then go back and cut away the excess.
Always cut from the back of the carpet if possible. You’ll get a cleaner edge and reduce the risk of tearing the pile.
Laying Carpet Underlay
Underlay might not be the part you see, but it makes a big difference to how your carpet feels and how long it lasts. It adds cushioning, helps with insulation, and keeps the carpet from wearing out too fast. If you're not sure which one to use, check out our guide to choosing the right carpet underlay, or explore our full underlay range.
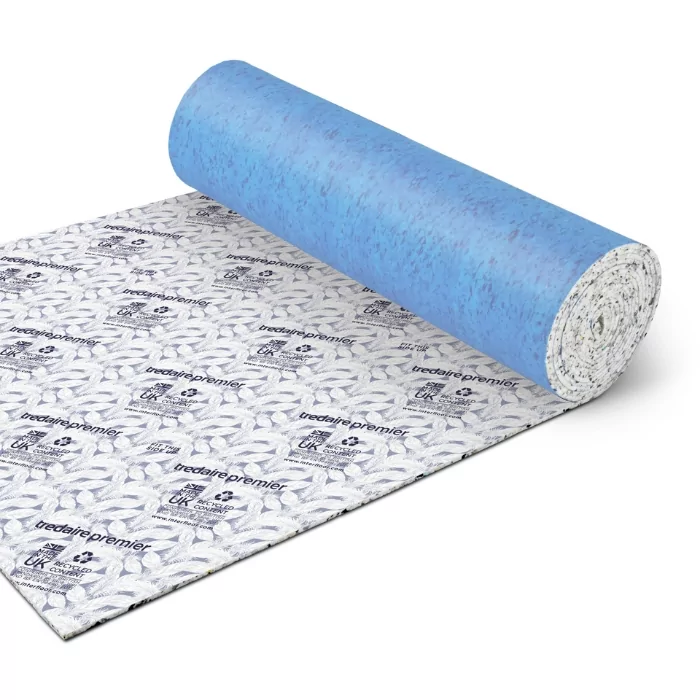
How to lay carpet underlay
Start by rolling out the underlay and placing it rubber-side down. Begin along one wall and work across the room in strips. Butt each strip up against the next, don’t overlap them. Use duct tape to secure the joins and stop the pieces shifting.
Trim the edges with a utility knife so the underlay sits just inside the carpet grippers. This gives you a clean space to tuck the carpet into later.
Fixing underlay in place
Use a staple gun or adhesive spray to secure the underlay to wooden subfloors. If you’re working on concrete, you can leave the it floating as long as it’s taped and cut snug to the edges.
Make sure everything is flat with no ridges or folds. A lumpy underlay will show through and ruin the finish.
Fitting a Carpet (Step-by-Step)
Once your underlay is down, it’s time to fit the carpet. This part is all about tension, alignment, and neat edges.
Step 1: Position the carpet
Lay the carpet over the underlay and centre it in the room. Make sure it runs straight and covers all walls with a bit of excess carpet at each edge. Let it settle for an hour or so if you can, this helps it relax into place.
Step 2: Use a carpet kicker
Start by fixing the carpet in one corner. Use a carpet kicker to stretch the carpet forward into the gripper rods. Press down with your knee while holding the handle. The teeth will grip the carpet and push it toward the wall.
Work around the room, kicking and pressing the carpet into the grippers along each edge. Smooth out any ripples as you go.
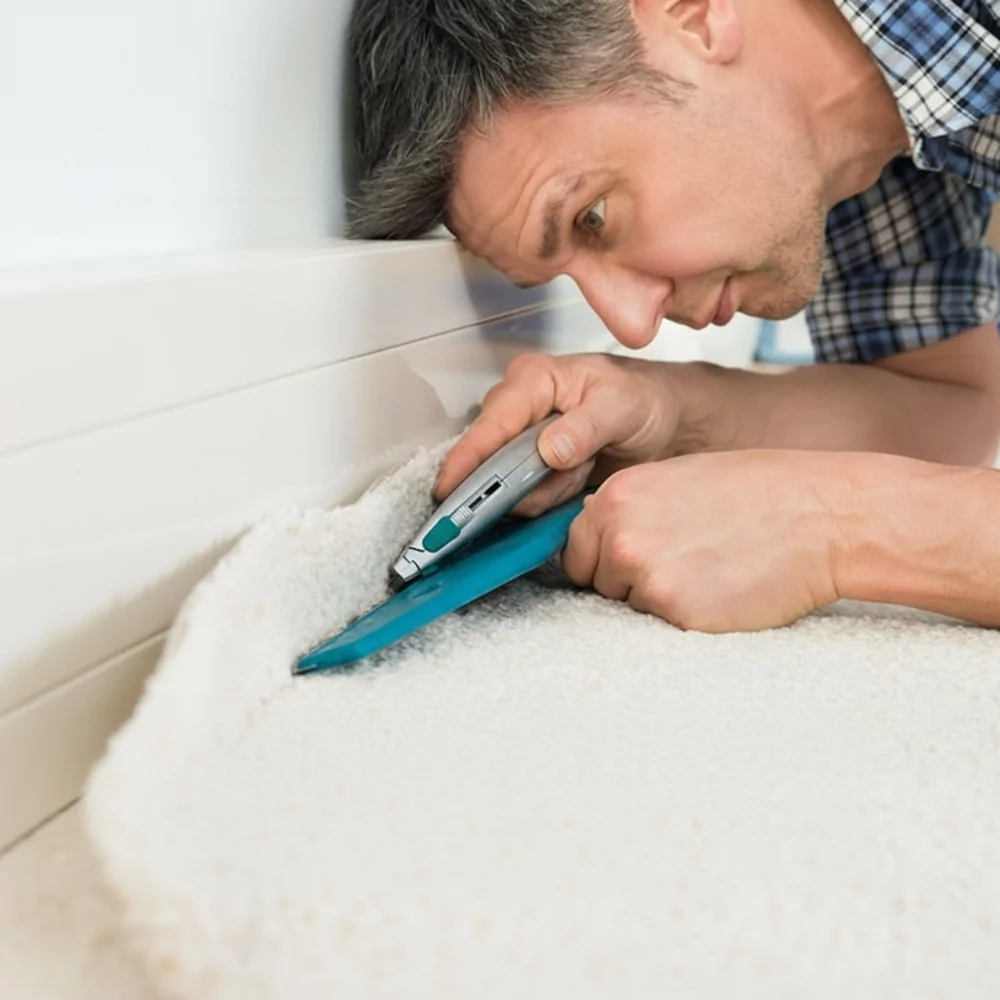
Step 3: Tuck the carpet neatly
Once the carpet is secure, go around the edge with a carpet bolster or tucker. Push the edges down between the skirting board and the grippers. This gives a clean, professional look and hides any rough edges.
If the gap is tight, use a stair tool or blunt chisel to help.
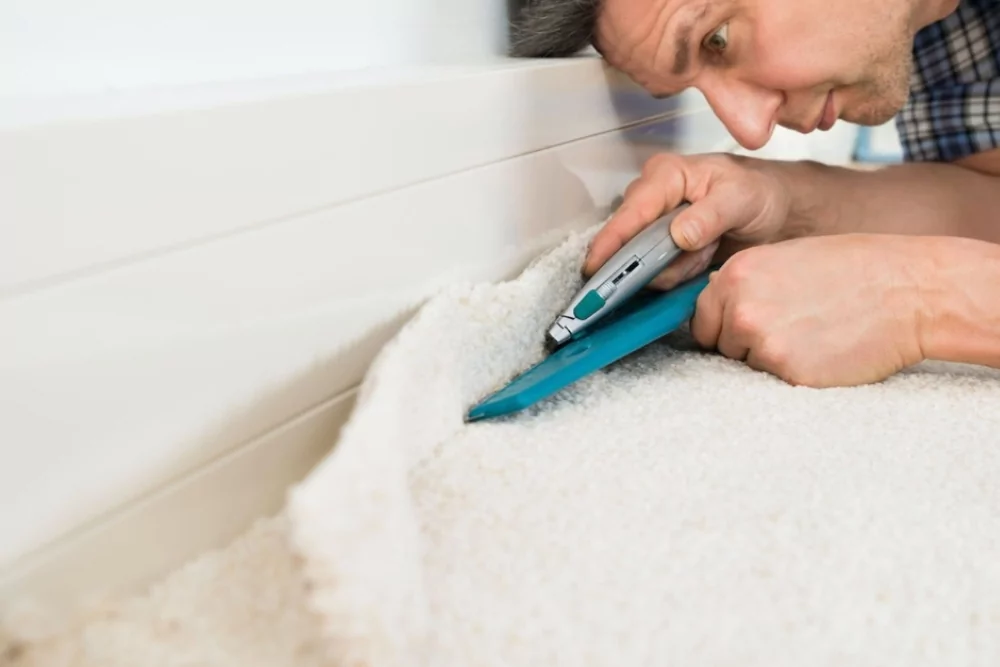
Step 4: Trim the carpet
Use a sharp utility knife to trim the excess carpet neatly along the skirting. Pull it slightly tight, then run the blade along the edge, keeping the pressure even. Replace the blade if it starts to snag or pull fibres.
This is where a clean finish matters. Take your time and double-check corners and joins.
Joining Carpet and Working Around Obstacles
Some rooms aren’t simple rectangles. You might need to join two pieces of carpet or work around pipes, door frames, or other tricky spots. These steps help you get a neat finish no matter the shape of the space.
How to join carpet to laminate or tile
When your carpet meets hard flooring, like in a hallway or doorway, you’ll need a carpet edge strip. This covers the join and stops fraying. Choose a strip that suits the height of the two surfaces. Most come with a metal or PVC cover and a base you screw or glue down.
Once it’s in place, tuck the carpet underneath and press it into the strip. This gives a safe transition between surfaces and keeps everything looking tidy.
How to join carpet to carpet
If you’re connecting two pieces of the same carpet, use a carpet join strip or heat-activated seam tape. Line up the pile direction so the join looks consistent. You can place the join along a wall or under furniture where it’s less visible.
Use a carpet stretcher to pull both sides tight, then press down to seal the join.
How to cut around radiator pipes
To cut around radiator pipes, make a straight slit from the edge of the carpet to the base of the pipe. Then cut a small circle around the pipe itself. Once in place, press the carpet down and trim any overlap. You can hide the gap with a pipe collar for a clean finish.
Fitting carpet around a door frame
Use a sharp blade and take your time. Cut the carpet so it just touches the frame, then tuck the carpet underneath if there's a gap. You can also notch the carpet slightly at the corners to help it sit flat.
Common Carpet Fitting Mistakes to Avoid
| Mistake | What Goes Wrong | How to Get It Right |
|---|---|---|
| Skipping the underlay | Carpet feels flat and wears out faster | Always use proper underlay to add comfort and protect the carpet over time |
| Not using a carpet stretcher or kicker | Leaves ripples and loose areas that can shift or fray | Use a carpet stretcher and kicker to pull the carpet tight before trimming |
| Poor gripper placement | Carpet won’t stay secure and edges may lift | Fit grippers evenly around the room, leaving a small gap for tucking |
| Cutting carpet too short | Leaves gaps at the edges and makes joins more obvious | Always cut with a bit of excess, then trim neatly once the carpet is fixed |
| Rushing the finish | Corners look messy and the fit feels uneven | Take your time. Use a bolster or carpet tucker to press down edges and get a clean line |
Keeping Your New Carpet Looking Good
Once your new flooring is down, the right upkeep helps it stay in shape and looking fresh. You don’t need fancy products just a few regular habits. Here are some top tips:
- Vacuum often to lift dust and grit before it sinks in. High-traffic areas like hallways or stairs might need daily attention.
- Tackle spills straight away. Blot, don’t scrub. If you’re not sure what to use, check out our guide to carpet cleaning.
- Trim loose fibres instead of pulling them. A quick snip keeps the surface tidy and stops fraying.
- Rotate rugs or furniture to spread wear evenly, especially in busy spots.
- Use door mats at entrances to cut down on dirt coming in from outside.

Ready to Start Your Carpet Project?
Now that you know how to lay carpet with confidence, you’re one step closer to finishing your space.
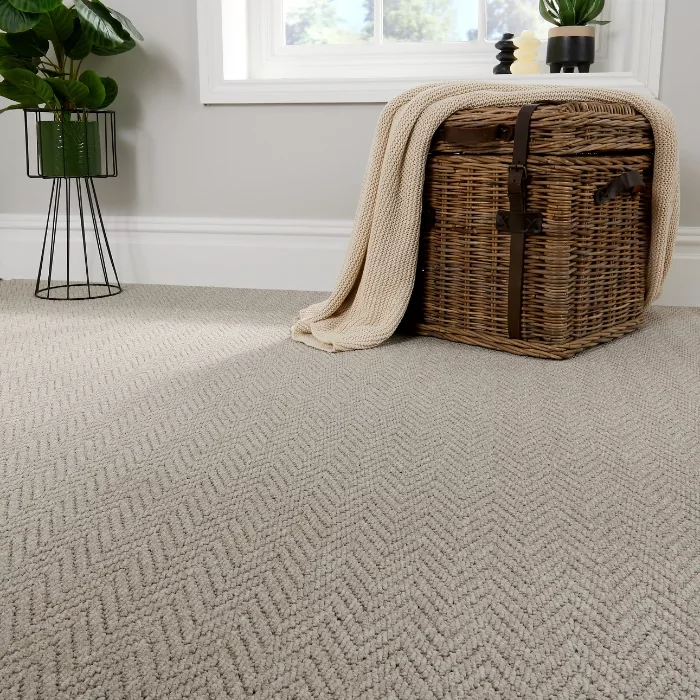
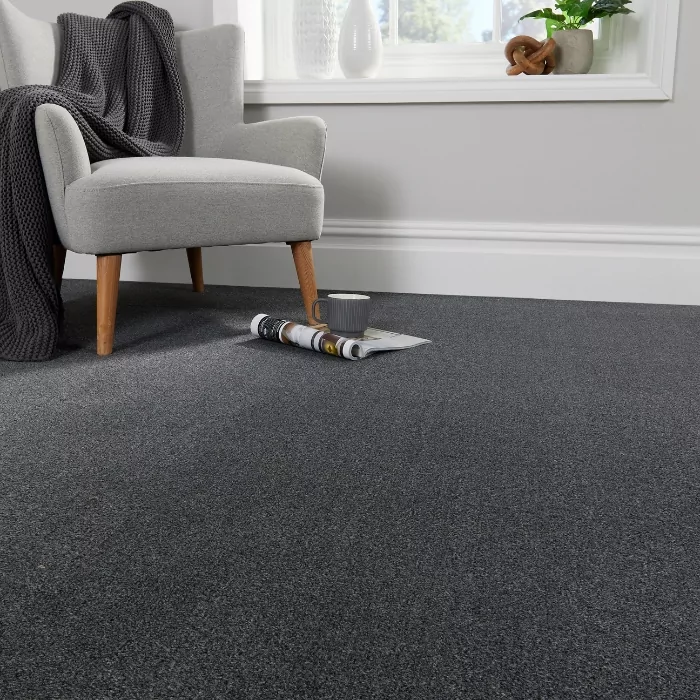
Still deciding on your new flooring? At Best4Flooring, we’ve got a style for every space, from luxury carpet that feels soft underfoot or something more hard-wearing for high-traffic areas. Whatever your room needs, you’ll find something that fits.
And if you’re still weighing things up, you’ll also find a huge range or laminate, LVT, and sheet vinyl to bring your home to life.